Infrared Workflow
by Anton Piatek
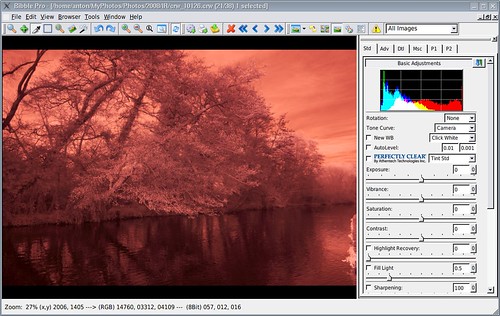
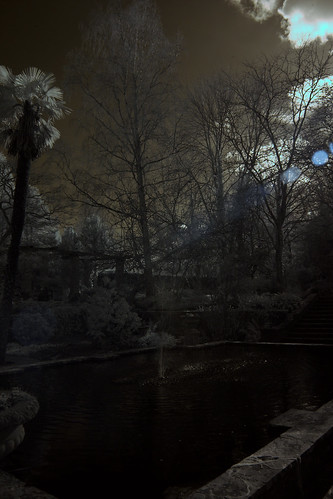
The photo right out of the camera looks incredibly red.
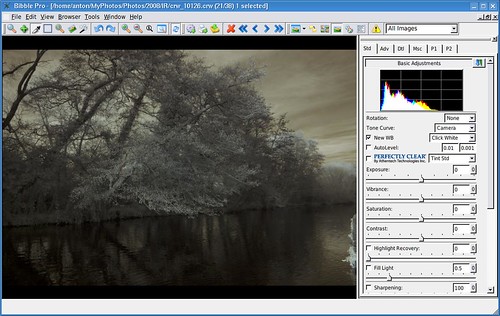
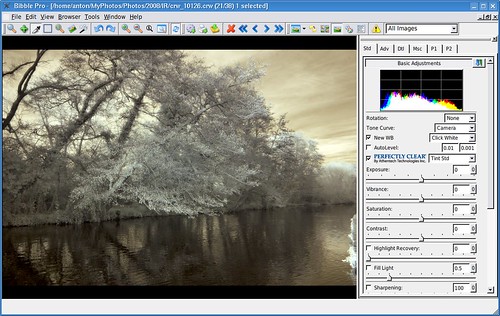
I use Bibble to convert my raw files – during the conversion I set the white balance to “click white”, and select somewhere on the grass or a leaf. The idea is to remove the red tint from the light leaves in the image, but the sky can still have a dark red tint (in fact the red tint is usually desired). I have also seen posts where people suggest setting a custom white balance in camera to a photo with the frame full of grass, however I have not tried this
Auto levels or curves can be used as well during raw conversion to increase the contrast in the image, I also often apply noise reduction and sharpening, then I rotate and crop if required before exporting to The Gimp.
 {.tt-flickr}
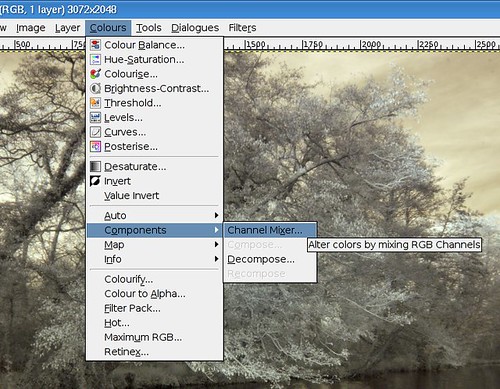
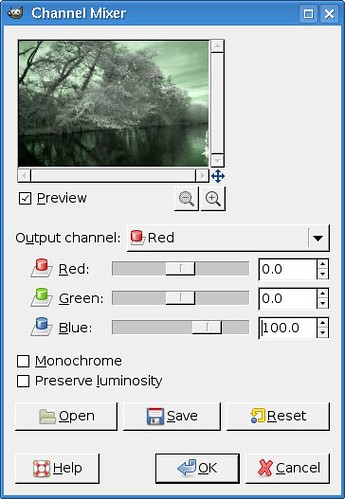
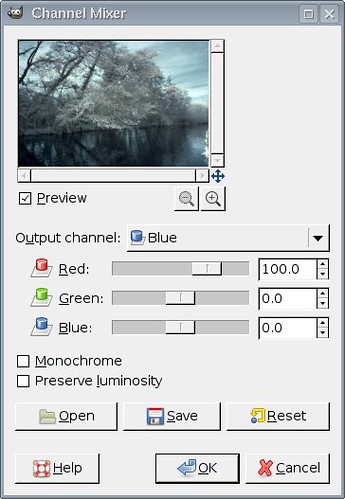
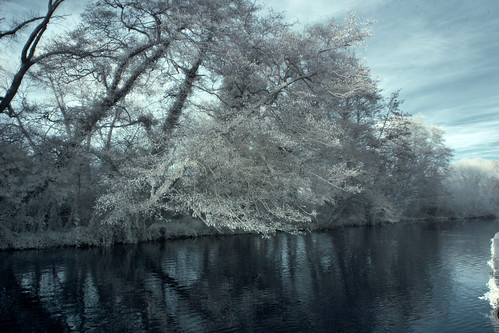
In The Gimp the first thing I do is Colours -> Components -> Channel Mixer, where I set the red channel to output 100% blue, and the blue channel to output 100% red (the other colours in each channel are set to 0%).
This may or may not be desired, depending on whether it looks better with a blue sky or red. I often cannot decide so do both.
 {.tt-flickr}
Then, if desired, you can export to greyscale. Try Colours -> Desaturate or Colours -> Components -> Decompose.
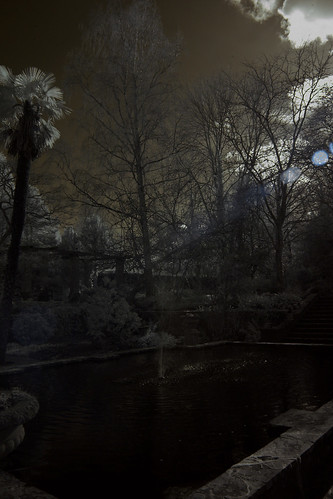
If you get odd highlights
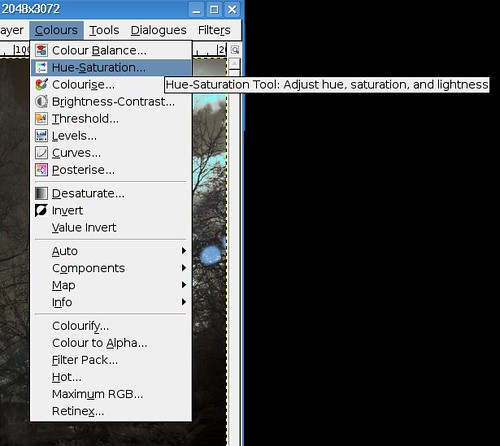
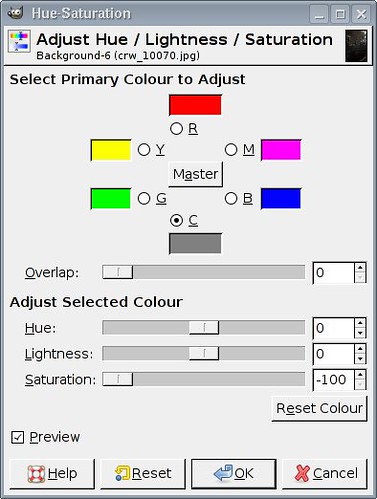
These can be corrected by adjusting the saturation of cyan to -100, maybe increasing the lightness slightly too. Colours -> Hue-Saturation will get you there.
And there you have it – all you need to get started in IR post processing.
 {.tt-flickr}
I got my ideas for workflow from the following sites:
